


Complete Guide to Colour-Changing LED Strips for TV Consoles: Setup, Options & Costs
Table Of Contents
- Introduction
- Benefits of LED Strips for TV Consoles
- Types of Colour-Changing LED Strips
- Setup & Installation Guide
- Smart Home Integration Options
- Cost Breakdown: What to Expect
- Styling Tips for TV Consoles with LED Lighting
- Maintenance & Troubleshooting
- Conclusion
Complete Guide to Colour-Changing LED Strips for TV Consoles: Setup, Options & Costs
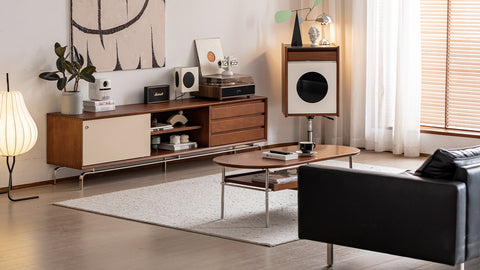
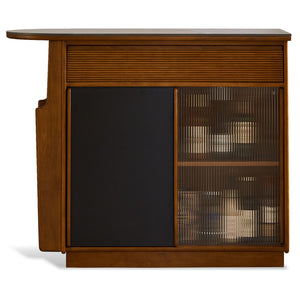
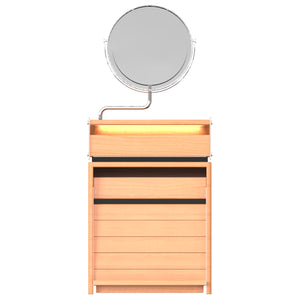
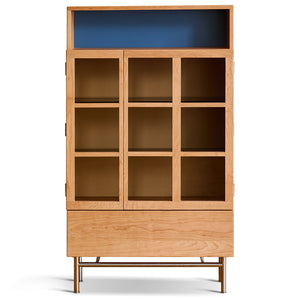
The living room serves as the heart of most homes, with the TV console often being a focal point of this gathering space. While selecting the perfect TV console is essential, enhancing it with thoughtful lighting can transform your entire entertainment area. Colour-changing LED strips have become increasingly popular for adding ambiance, reducing eye strain, and creating an immersive viewing experience without breaking the bank.
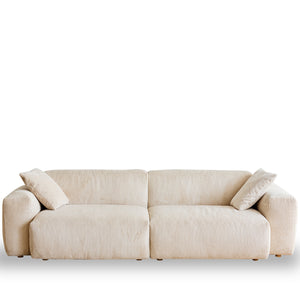
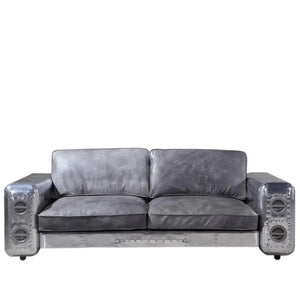
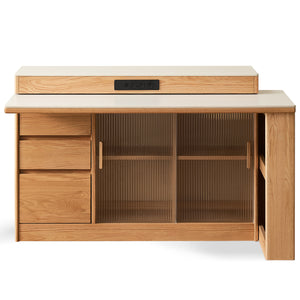
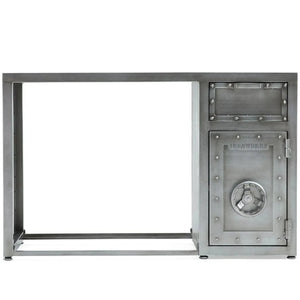
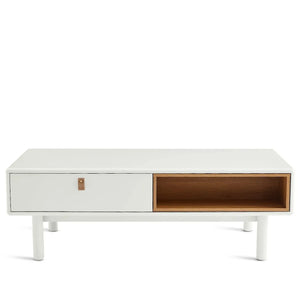
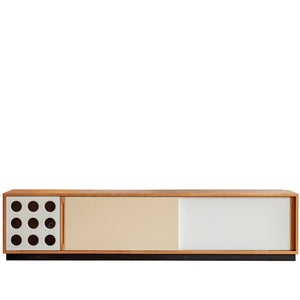
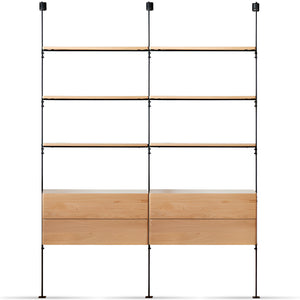
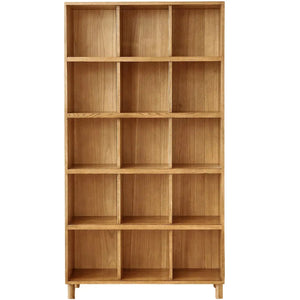
Whether you're looking to complement your minimalist Scandinavian storage unit or enhance a bold industrial-style console, LED lighting offers versatility that adapts to any interior design approach. This comprehensive guide will walk you through everything you need to know about selecting, installing, and optimizing colour-changing LED strips for your TV console—from basic setup procedures to smart home integration and cost considerations for every budget.
Benefits of LED Strips for TV Consoles
Adding colour-changing LED strips to your TV console isn't just about aesthetics—though they certainly enhance the visual appeal of your entertainment area. These versatile lighting solutions offer multiple practical benefits that improve both the functionality and atmosphere of your living space:
Reduced Eye Strain: The soft backlighting created by LED strips behind your TV reduces the contrast between the bright screen and dark surroundings, leading to less eye fatigue during extended viewing sessions. This makes movie marathons or gaming sessions more comfortable.
Enhanced Viewing Experience: Properly positioned LED lighting creates a more immersive atmosphere that extends the visual experience beyond the screen edges. Many users report feeling more engaged with content when complementary lighting is present.
Customizable Ambiance: Colour-changing capabilities allow you to set the perfect mood for different activities—warm tones for relaxed movie nights, energetic hues for gaming sessions, or neutral whites when the TV serves as subtle background entertainment.
Space Enhancement: LED strips can make your entertainment area appear larger by creating depth through strategic lighting. This is particularly beneficial in smaller living rooms or apartments where maximizing perceived space is important.
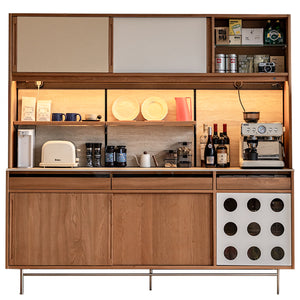
Furniture Showcase: Quality furniture deserves to be highlighted. LED strips can accentuate the design features of your TV console, drawing attention to its craftsmanship and design elements that might otherwise go unnoticed.
Types of Colour-Changing LED Strips
Before purchasing LED strips for your TV console, it's important to understand the different options available to ensure you select the most suitable solution for your needs:
RGB LED Strips: These basic colour-changing strips combine red, green, and blue LEDs to create various colours. They're typically the most affordable option but offer a more limited colour range compared to advanced alternatives.
RGBW LED Strips: These include an additional white LED alongside the standard RGB setup, providing more accurate white light and pastel tones. This makes them more versatile for everyday lighting needs when you want neutral illumination.
RGBIC LED Strips: The "IC" stands for "Independent Control," meaning different sections of the strip can display different colours simultaneously. This allows for more dynamic lighting effects and customization possibilities.
Addressable LED Strips: The most advanced option, where each LED can be individually controlled. These enable complex lighting patterns and effects but typically come with a higher price tag and more complex setup requirements.
Smart LED Strips: These connect to your home Wi-Fi network or smart hub, allowing control via smartphone apps or voice assistants. Many smart options offer preset scenes, scheduling capabilities, and synchronization with music or on-screen content.
When selecting LED strips for your TV console, consider factors such as strip length (measure your furniture first), power requirements, control method, and connectivity options. For most home setups, RGBW or basic smart LED strips provide an excellent balance of functionality and value.
Setup & Installation Guide
Installing LED strips on your TV console is generally straightforward, but proper preparation and attention to detail will ensure optimal results and longevity.
Preparing Your TV Console
Before attaching any LED strips, take time to prepare your furniture surface:
Clean Thoroughly: Wipe down the installation areas with isopropyl alcohol to remove dust, oils, and residues that might prevent proper adhesion. Allow the surface to dry completely before proceeding.
Plan Your Layout: Decide whether you want to install the strips along the back edge of the TV itself, around the perimeter of the console, along shelving edges, or a combination of these. Use a measuring tape to determine exactly how much LED strip length you'll need.
Consider Cable Management: Plan how you'll route power cables and controllers to maintain a clean, professional look. Many TV consoles feature built-in cable management systems that can accommodate LED strip wiring.
Test Before Installing: Always connect and test your LED strips before permanently mounting them to ensure all sections work properly and the colours meet your expectations.
Step-by-Step Installation Process
Follow these steps for a successful LED strip installation:
1. Measure and Cut (if necessary): Most LED strips have designated cutting points marked on the strip. Measure carefully and cut only at these indicated points to avoid damaging the circuitry.
2. Remove the Adhesive Backing: Peel small sections at a time rather than removing all the backing at once, which can create tangles or accidental sticking.
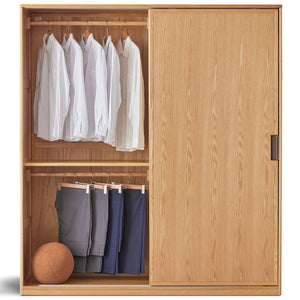
3. Apply with Firm Pressure: Press firmly along the strip as you adhere it to ensure proper bonding. For wood or textured surfaces found on many wooden storage pieces, you might need to press longer to ensure adhesion.
4. Secure Corners Carefully: Avoid sharp bends at corners which can damage the internal connections. Instead, create a smooth loop or use corner connectors designed specifically for LED strips.
5. Connect Controllers and Power: Attach the control unit according to manufacturer instructions and connect to power. For strips mounted behind a wall-mounted TV, consider power sources that can be hidden behind the screen.
6. Secure Loose Cables: Use cable clips or cable management solutions to secure any loose wiring to the back of your furniture, keeping everything tidy and preventing accidental disconnections.
Power and Connection Considerations
Proper power management is crucial for both performance and safety:
Power Requirements: Most LED strips operate on 12V or 5V DC power. Ensure your power adapter matches the voltage requirements and provides sufficient wattage for your total strip length. As a rule of thumb, calculate approximately 2-3 watts per foot for RGB strips and 3-4 watts per foot for RGBW strips.
Power Outlet Placement: Consider where your nearest power outlet is located. If your TV console is far from an outlet, you might need an extension cord or a longer power adapter cable.
Multiple Strip Connections: For larger setups that use multiple strips, ensure you're not exceeding the maximum load of your power supply. For extensive installations, you might need multiple power sources or amplifiers to maintain consistent brightness.
Smart Plugs: Consider using a smart plug with your LED strips, even for non-smart LED varieties. This allows for remote power control and scheduling without investing in more expensive smart LED systems.
Smart Home Integration Options
Integrating your LED strips with smart home systems elevates the convenience and functionality of your lighting setup:
Voice Control: Smart LED strips compatible with Amazon Alexa, Google Assistant, or Apple HomeKit allow for hands-free operation. Commands like "Turn the TV lights blue" or "Dim the console lights to 50%" make adjusting your ambiance effortless.
Smartphone Control: Dedicated apps provide colour wheels, preset scenes, and scheduling options. This is particularly useful for creating different lighting environments for various activities—bright whites for cleaning days, warmer tones for relaxed evenings, or synchronized colours for entertaining guests.
Content Synchronization: Advanced smart LED systems can synchronize with on-screen content, extending colours from your movie or game beyond the screen for a more immersive experience. Products like Philips Hue Play HDMI Sync Box or Govee Immersion TV backlights offer this functionality.
Automation: Create routines that trigger your LED lighting automatically—when your TV turns on, at sunset, or when you start a specific streaming app. This can be achieved through smart home platforms like Samsung SmartThings, Apple HomeKit, or Google Home.
Music Synchronization: Many smart LED systems can pulse and change colours in rhythm with music, creating an enhanced atmosphere for parties or background entertainment.
When selecting a smart LED system, consider compatibility with your existing smart home ecosystem to ensure seamless integration with your current devices and routines.
Cost Breakdown: What to Expect
The investment required for adding LED strips to your TV console varies significantly based on the type, length, and features you choose:
Budget-Friendly Options
Basic RGB Strips: $15-30 for a standard 5-meter kit including a simple remote controller and power adapter. These typically offer 16-20 preset colours and basic effects like fading or flashing.
Entry-Level Smart Strips: $25-50 for Wi-Fi or Bluetooth-enabled strips with smartphone control. These offer more colour options and basic scheduling but may lack advanced integration features.
DIY Solutions: For the technically inclined, combining standard LED strips with microcontrollers like Arduino or ESP8266 can create custom solutions for $20-40, though this requires programming knowledge.
Budget options work well for basic ambient lighting and offer good value for those new to LED lighting or uncertain about long-term usage.
Premium Solutions
High-Quality RGBW/RGBIC Strips: $50-100 for premium strips with better colour accuracy, higher brightness, and more durable components. These typically last longer and maintain consistent colour quality throughout their lifespan.
Advanced Smart Systems: $100-200 for comprehensive systems like Philips Hue, LIFX, or Nanoleaf that offer robust smart home integration, content synchronization, and extensive customization options.
Professional Installation: Add $100-300 if you opt for professional installation, which might include custom cutting, seamless corner solutions, and integrated power management hidden within your furniture.
Additional Accessories: Budget $20-50 extra for accessories like diffusers (which soften the light for a more professional look), corner connectors, or additional controllers for complex setups.
Premium options justify their higher cost through enhanced longevity, better light quality, and more sophisticated control options. For those who consider their living room a primary entertainment space, these investments often provide better long-term satisfaction.
Styling Tips for TV Consoles with LED Lighting
Maximize the impact of your LED installation with these design and styling recommendations:
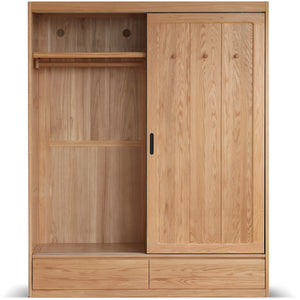
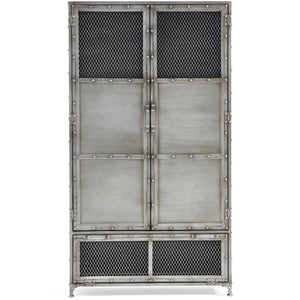
Complement Your Furniture Style: Different furniture styles benefit from different lighting approaches. For minimalist TV consoles, consider clean white lighting that emphasizes the streamlined design. Industrial-style consoles might be enhanced with warmer amber tones that highlight metal and wood elements.
Coordinate with Room Colours: Choose default colours that complement your existing décor. In rooms with neutral palettes, LED strips can introduce subtle colour accents that can be changed seasonally or for different occasions.
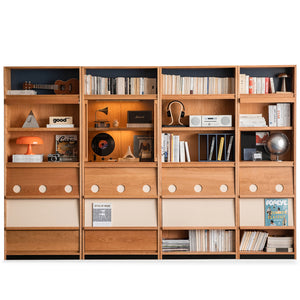
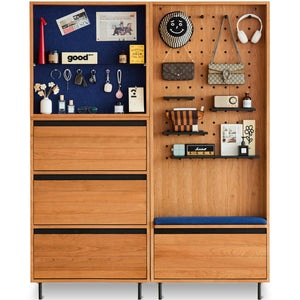
Create Depth with Layered Lighting: If your console has shelving or compartments, consider installing LED strips on multiple levels to create depth and highlight displayed items such as books, decorative objects, or media components.
Consider Diffusion: Direct LED lights can sometimes create harsh "dotted" light patterns. Adding diffuser channels softens this effect, creating a more professional, high-end lighting appearance that resembles commercial-grade installations.
Balance with Other Lighting: Your LED strips should complement other light sources in the room rather than competing with them. During movie viewing, they might be the primary light source, but for general use, they should balance with your overall lighting scheme.
Showcase Console Contents: If your TV console displays items in glass-fronted compartments, position LED strips to highlight these featured pieces, creating visual interest even when the TV is off.
Maintenance & Troubleshooting
To ensure your LED lighting continues functioning optimally over time, consider these maintenance and troubleshooting tips:
Regular Cleaning: Dust both the LED strips and the surrounding areas of your TV console regularly. Use a dry microfiber cloth to gently wipe the strips without applying solvents directly to the LEDs.
Check Connections: Periodically inspect all connection points, especially if you notice flickering or inconsistent lighting. Loose connections are a common cause of LED strip malfunctions.
Address Adhesion Issues: If strips begin peeling from your furniture, clean the surface thoroughly and reinforce with purpose-made LED strip mounting clips or high-quality double-sided tape designed for the specific surface material of your console.
Troubleshooting Common Issues:
• Sections Not Lighting: Check for breaks in the strip circuit. You may need to bridge the connection with additional wiring or replace that section.
• Colour Inconsistency: If different sections show different colours when set to the same value, you might have voltage drop issues. Consider adding power injection points for longer installations.
• Connection Problems: Smart LED strips that disconnect frequently from your network may need to be relocated closer to your router or might benefit from a dedicated Wi-Fi repeater.
• Remote Control Issues: For infrared-controlled systems, ensure there's a clear line of sight between the remote and receiver. Consider upgrading to RF or Wi-Fi control if physical obstacles consistently block the signal.
Expected Lifespan: Quality LED strips typically last 20,000-50,000 hours of use. To maximize lifespan, avoid running them at maximum brightness constantly and consider using timers or automation to ensure they're only on when needed.
Conclusion
Colour-changing LED strips represent one of the most cost-effective ways to transform your TV viewing area and enhance your living room's overall ambiance. From basic RGB options that provide simple colour changes to sophisticated smart systems that synchronize with your content, there's a solution for every preference and budget.
When paired with a thoughtfully selected TV console that complements your interior design style, LED lighting creates a cohesive, immersive entertainment environment that elevates both everyday viewing and special occasions. The flexibility to change colours and intensity means your lighting can adapt to different activities, moods, and seasons without requiring any furniture modifications.
Whether you're looking to reduce eye strain, create a more immersive viewing experience, or simply add a contemporary touch to your living space, LED strip lighting offers an accessible entry point into smart home technology and custom lighting design. With proper installation and maintenance, your LED-enhanced entertainment center will provide years of customizable ambiance that transforms both how your space looks and how you experience your favorite content.
Visit Loft Home Furniture to explore our collection of designer-inspired TV consoles and living room furniture that perfectly complement your LED lighting setup. Our curated selection combines style, functionality, and value to help you create your ideal entertainment space.


Leave a comment