


DIY Chalkboard Wall & Matching Desk Setup: Create Your Perfect Home Office Space
Table Of Contents
- Introduction
- Benefits of a Chalkboard Wall in Your Home Office
- Planning Your Chalkboard Wall Project
- Materials and Tools You'll Need
- Preparing Your Wall Surface
- Applying Chalkboard Paint
- Conditioning Your New Chalkboard Wall
- Creating a Matching Desk Setup
- Styling Tips for Your New Space
- Maintaining Your Chalkboard Wall
- Conclusion
Imagine having a workspace that combines functionality with creative expression - a place where you can jot down ideas, create to-do lists, and sketch out concepts directly on your wall. A DIY chalkboard wall paired with a coordinating desk setup can transform your home office into a productive, inspiring environment that adapts to your changing needs.
At Loft Home Furniture, we believe your workspace should reflect both your practical needs and personal style. Whether you're working from home full-time, managing household tasks, or seeking a creative outlet, a chalkboard wall creates a unique focal point that serves as both a practical tool and a design statement.
This comprehensive guide will walk you through every step of creating your own chalkboard wall and setting up a complementary desk area that ties the whole look together. We'll cover everything from selecting the right paint and preparing your surface to choosing furniture pieces that enhance your new feature wall. Let's transform your space into something both beautiful and functional!
Benefits of a Chalkboard Wall in Your Home Office
Before diving into the how-to, let's explore why a chalkboard wall might be the perfect addition to your home office:
Practical Functionality - Unlike traditional whiteboards or cork boards, a chalkboard wall provides an expansive canvas for brainstorming, planning, and organizing. You can write directly on the wall, erase, and start fresh whenever needed. This large-scale writing surface makes it ideal for visual thinkers who need space to map out ideas.
Design Versatility - The matte black finish of traditional chalkboard paint creates a sophisticated, modern aesthetic that works with various interior styles from industrial and minimalist to Scandinavian and contemporary. It serves as a dramatic backdrop that makes furniture and decor pop.
Cost-Effective Solution - Compared to other wall treatments or organizational systems, creating a chalkboard wall is remarkably affordable. With just a few basic supplies, you can transform an ordinary wall into a functional feature that would cost significantly more as a pre-made solution.
Customizable Space - Your chalkboard wall evolves with your needs. One day it might display your quarterly goals, the next day a family message center, and the following week, a temporary art installation. This adaptability makes it perfect for dynamic home environments.
Planning Your Chalkboard Wall Project
Successful DIY projects begin with thoughtful planning. Here's how to prepare for your chalkboard wall:
Select the Right Location - The ideal wall for your chalkboard should be easily accessible and visible from your workspace. Consider a wall behind your desk or an adjacent wall that you can see while working. The surface should be smooth and free from significant damage or texture.
Determine the Size - You don't need to convert an entire wall; a chalkboard section can be just as effective. Consider creating a framed chalkboard area that complements your space. For home offices, a section starting about 30cm from the floor and extending to about 180cm high provides good usability while maintaining room proportions.
Consider Lighting - Your chalkboard wall should have adequate lighting to prevent eye strain when reading what's written. Natural light is ideal, but if that's limited, plan to incorporate desk lamps or wall sconces that illuminate the surface evenly.
Think About Integration - Consider how your chalkboard wall will integrate with the rest of your office design. Will it be the focal point, or a complementary element? This will influence how you frame it (if at all) and what furniture you'll pair with it.
Materials and Tools You'll Need
Gathering all supplies before you begin will make your project flow smoothly. Here's what you'll need:
Essential Materials:
- Chalkboard paint (water or oil-based)
- Primer suitable for your wall type
- Painter's tape
- Drop cloths or plastic sheeting
- Fine-grit sandpaper (120-220 grit)
- White chalk for conditioning
- Cleaning supplies (sugar soap, rags, water)
Required Tools:
- Paint rollers with smooth-finish covers (small and medium sizes)
- Angled paintbrush for edges and corners
- Paint tray
- Step ladder
- Measuring tape
- Level
- Sanding block
Optional Materials:
- Decorative molding or trim for framing
- Colorful chalk or chalk markers
- Chalk holder or tray
- Chalkboard eraser
Preparing Your Wall Surface
Proper preparation is crucial for a smooth, long-lasting chalkboard surface:
Clear the Area - Remove furniture from the wall or cover it with drop cloths. Place drop cloths on the floor to catch any spills or splatters. If possible, remove switch plates, outlet covers, and any wall-mounted items.
Clean the Wall - Wash the wall thoroughly with sugar soap and water to remove dirt, grease, and residue. Allow it to dry completely before proceeding.
Repair Imperfections - Fill any holes, cracks, or dents with spackling compound and allow it to dry. Sand the repairs smooth and wipe away dust with a damp cloth.
Sand the Surface - Lightly sand the entire wall surface to create a slightly rough texture that helps the primer and paint adhere better. Wipe away dust with a damp cloth and allow to dry.
Apply Painter's Tape - If you're not painting the entire wall, use painter's tape to mark off the area for your chalkboard. Use a level to ensure straight lines. Press the tape firmly to prevent paint bleed.
Prime the Surface - Apply a coat of primer to the wall and allow it to dry completely according to the manufacturer's instructions (usually 24 hours). This step is essential for proper paint adhesion and will help prevent the chalk from permanently staining the wall.
Applying Chalkboard Paint
Now for the transformation:
Stir the Paint - Chalkboard paint should be thoroughly stirred (not shaken) to ensure consistent application. Follow the manufacturer's instructions for any specific preparation steps.
Start With Edges - Use an angled brush to carefully cut in along the edges of your taped area or around trim and corners. Work in small sections to maintain a wet edge.
Roll the Main Surface - Using a smooth-nap roller, apply the chalkboard paint in even, overlapping strokes. Work from top to bottom in small sections (about 1 meter wide) to maintain consistency.
Apply Multiple Coats - Most chalkboard paints require at least two coats for optimal performance. Allow the first coat to dry completely (typically 4-6 hours) before applying subsequent coats. Follow the manufacturer's recommendations for drying times between coats.
Remove Tape - For the cleanest edge, remove painter's tape while the final coat is still slightly damp. Pull the tape away at a 45-degree angle for the sharpest line.
Allow Proper Curing - This is crucial! While the paint may feel dry to the touch within hours, chalkboard paint typically needs 3-7 days to fully cure before use. Be patient—using the surface too soon can permanently damage it.
Conditioning Your New Chalkboard Wall
Before using your new chalkboard wall, it must be properly conditioned:
The Conditioning Process - After the paint has fully cured (wait the full time recommended by the manufacturer), take a piece of white chalk and rub the entire side of it over the entire surface. Cover every inch of the chalkboard with chalk.
Create a Chalk Layer - Use the side of the chalk to create an even layer over the entire surface. This step is essential—it fills the microscopic pores in the paint and creates a base layer that makes future erasing much cleaner.
Erase the Surface - After covering the entire wall with chalk, use a clean, dry cloth or chalkboard eraser to remove all the chalk. Wipe in circular motions until the surface appears clean but slightly hazy. This slight haze is normal and indicates proper conditioning.
Importance of Conditioning - This step prevents "ghosting" where the first things you write become permanently etched into the surface. Don't skip this crucial step, even if you're eager to start using your new chalkboard wall!
Creating a Matching Desk Setup
Now that your chalkboard wall is ready, let's create a desk area that complements this striking feature:
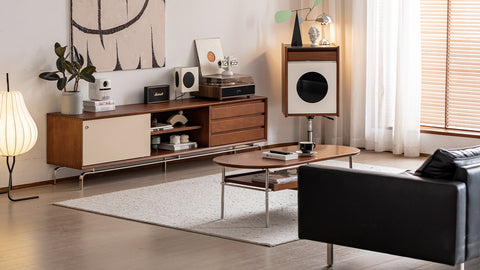
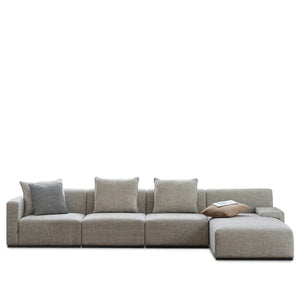
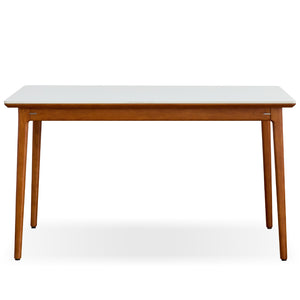
Choose the Right Desk - Select a desk that complements both your functional needs and the aesthetic of your chalkboard wall. For a cohesive look, consider these options from Loft Home Furniture:
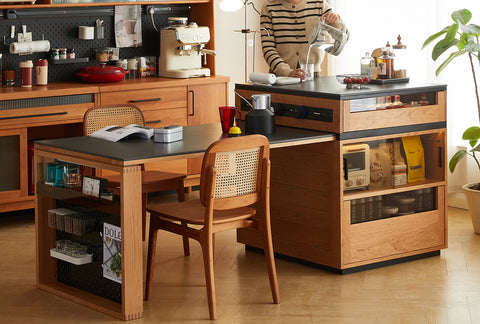
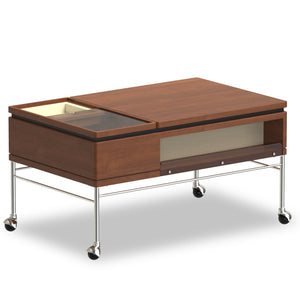
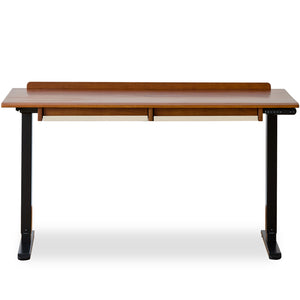
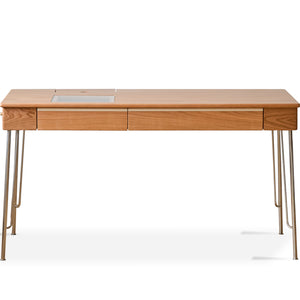
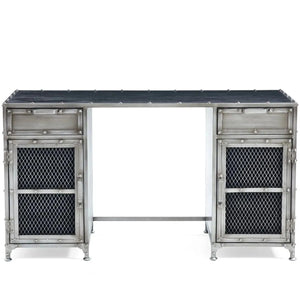
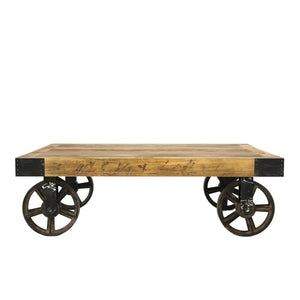
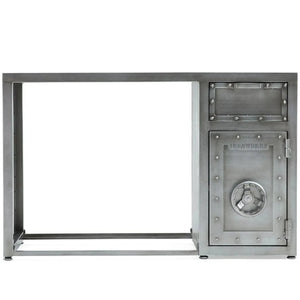
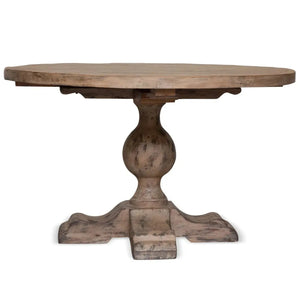
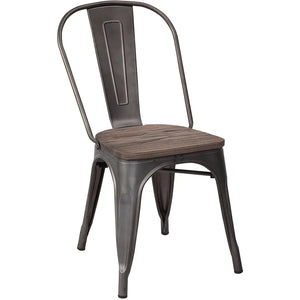
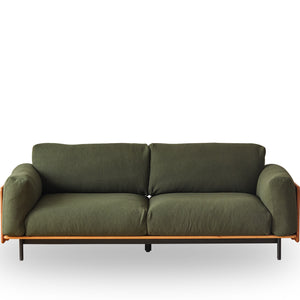
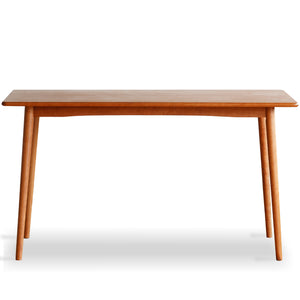
- For a modern industrial look, pair your chalkboard wall with a study table featuring metal legs and a wood top
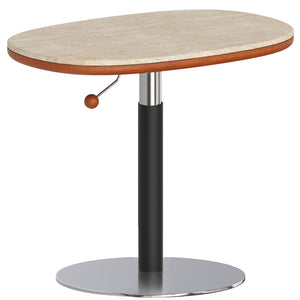
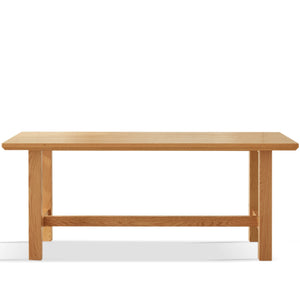
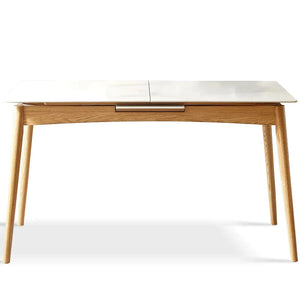
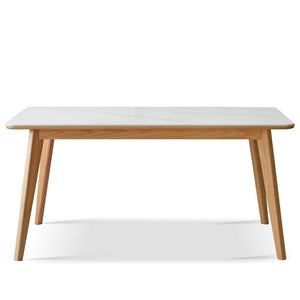
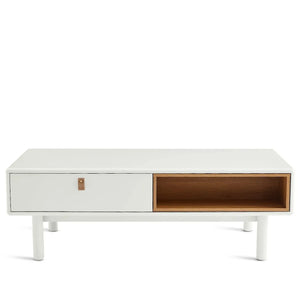
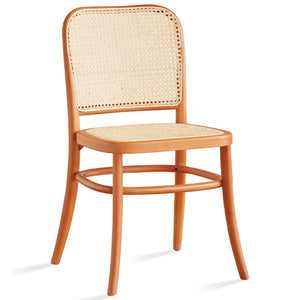
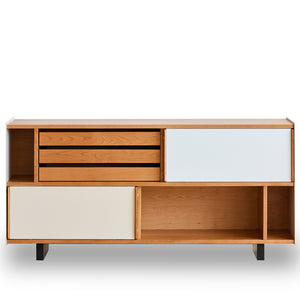
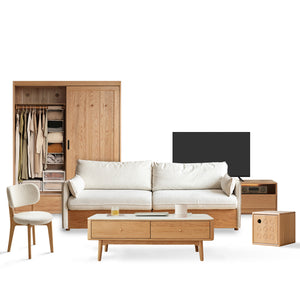
- For a minimalist approach, choose a clean-lined Scandinavian-style desk with light wood tones
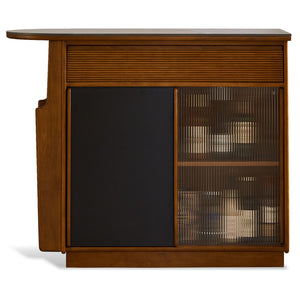
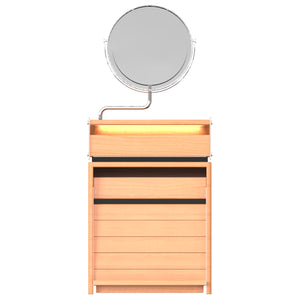
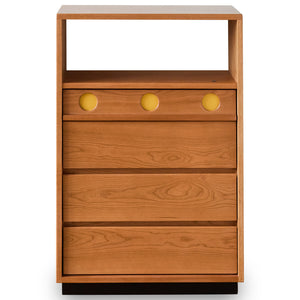
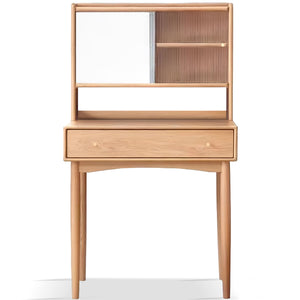
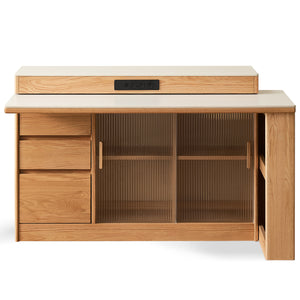
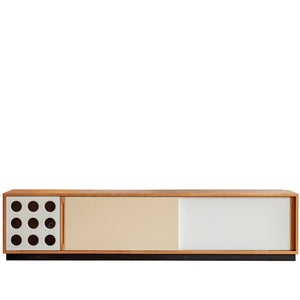
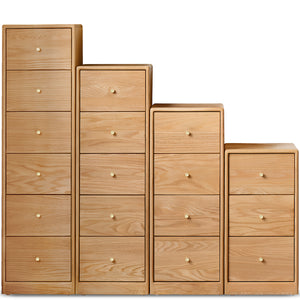
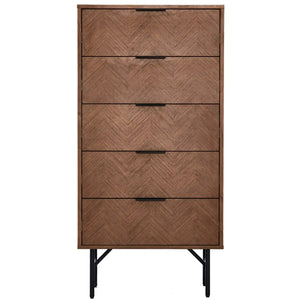
- If space is limited, consider a storage desk with built-in drawers or shelving
Position for Productivity - Place your desk either directly against the chalkboard wall (allowing you to write above it) or perpendicular to it for easy viewing while working. Consider the natural light sources in the room and position your desk to minimize glare on both your computer screen and the chalkboard surface.
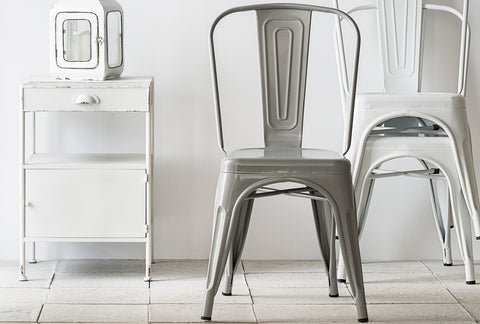
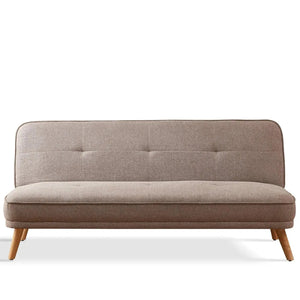
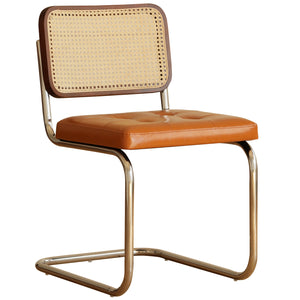
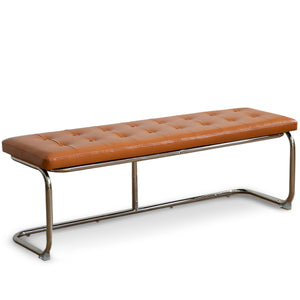
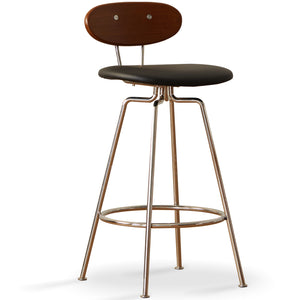
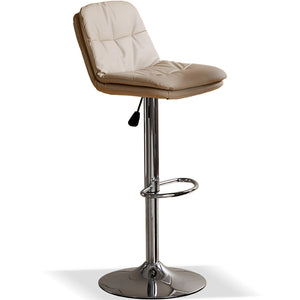
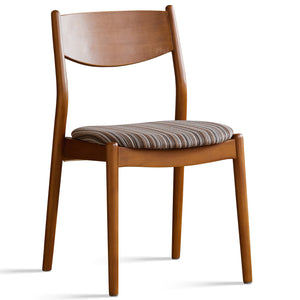
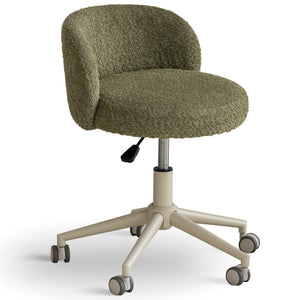
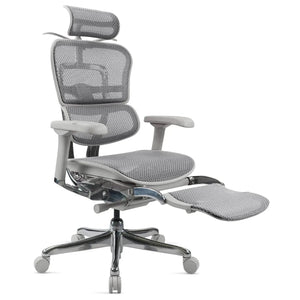
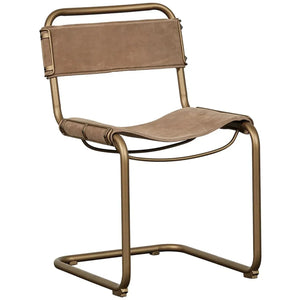
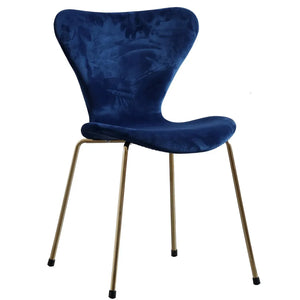
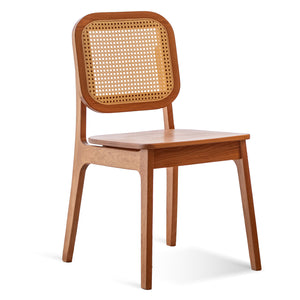
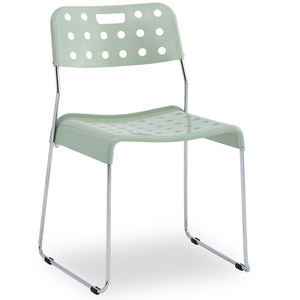
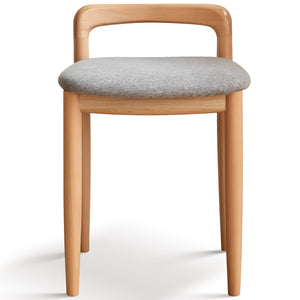
Select Complementary Seating - Your chair should provide comfort for long work sessions while enhancing your office aesthetic. Consider these options:
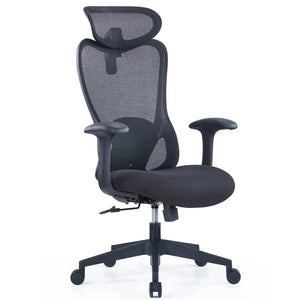
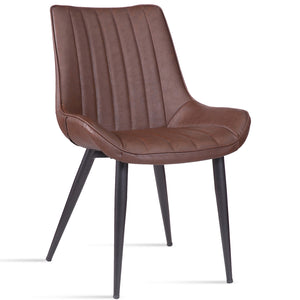
- An ergonomic office chair in black or charcoal to echo the chalkboard
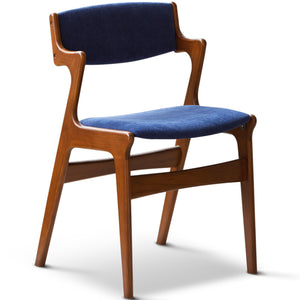
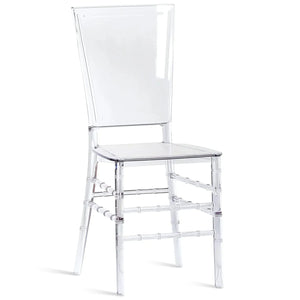
- A fabric task chair in a contrasting color for visual interest
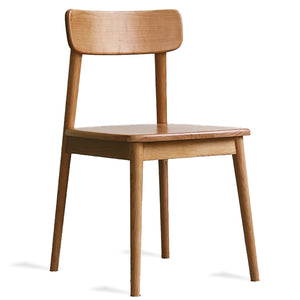
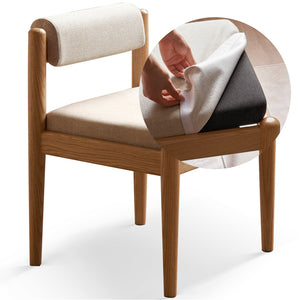
- An wooden chair for a warmer, more casual look
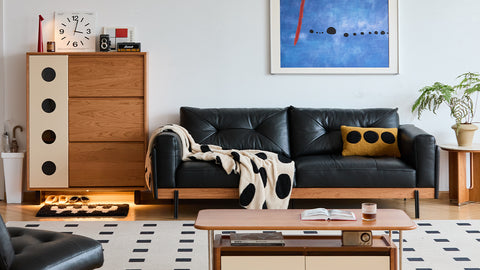
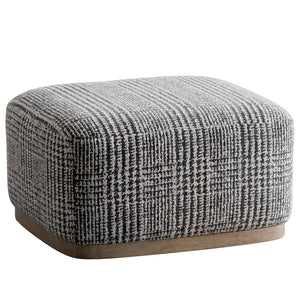
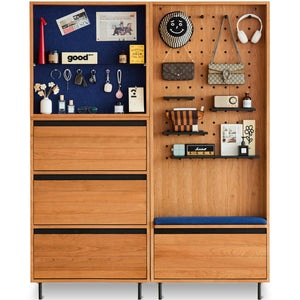
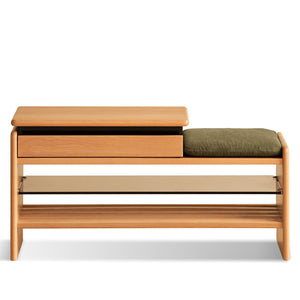
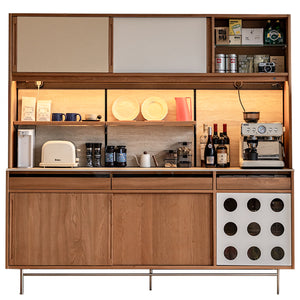
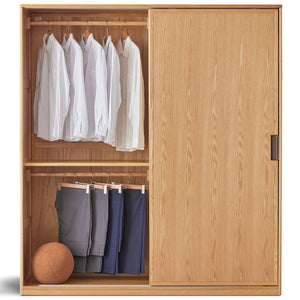
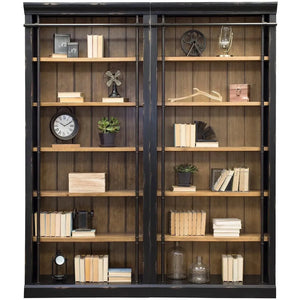
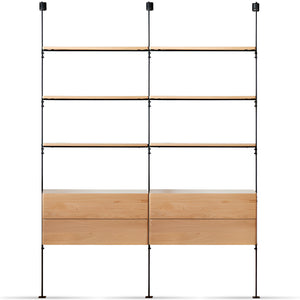
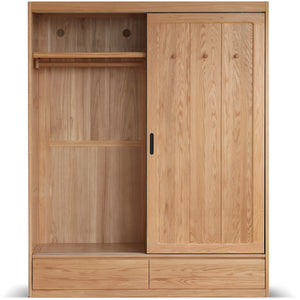
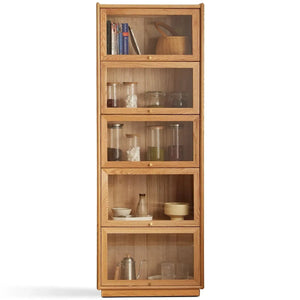
Add Practical Storage - Keep your workspace organized with storage solutions that complement your chalkboard wall:
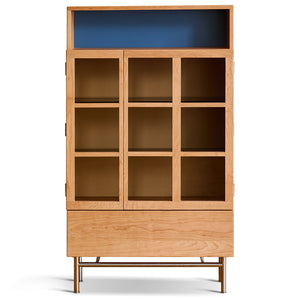
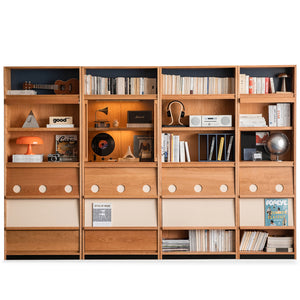
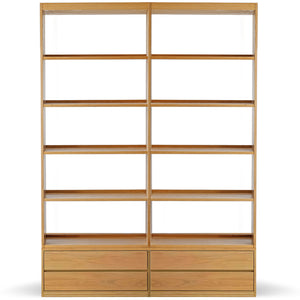
- Bookshelves or floating shelves in materials that match your desk
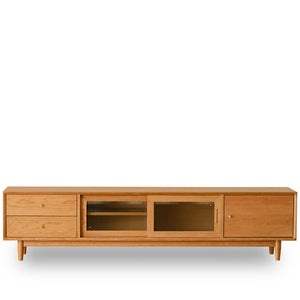
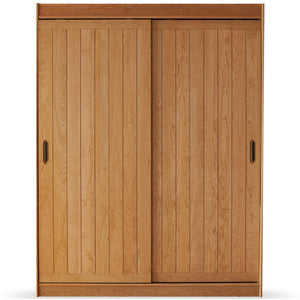
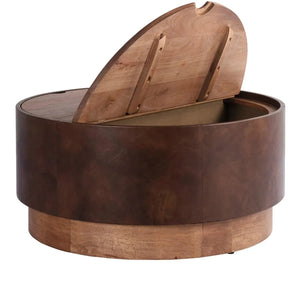
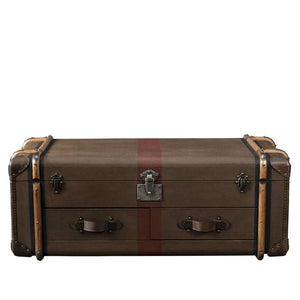
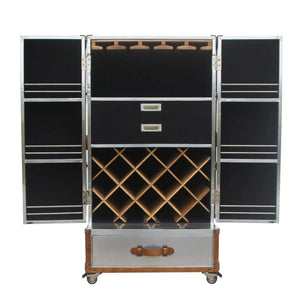
- A small cabinet or chest of drawers for supplies and documents
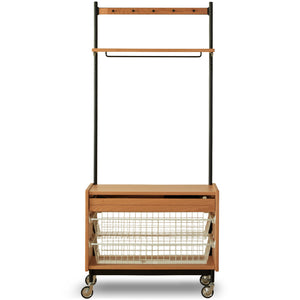
- Wall-mounted organizers that can be installed beside your chalkboard area
Styling Tips for Your New Space
Elevate your chalkboard wall and desk setup with these design touches:
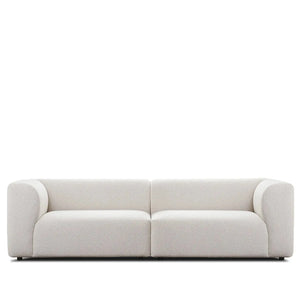
Create Visual Balance - The bold contrast of a chalkboard wall needs balancing elements. Incorporate lighter colors and varied textures through your furniture choices and accessories. Consider a rug with subtle pattern or texture to anchor your desk area.
Add Thoughtful Lighting - Proper lighting enhances both functionality and ambiance:
- A sleek desk lamp provides targeted task lighting
- Wall sconces installed on either side of the chalkboard wall create even illumination
- If ceiling height permits, a pendant light above your desk adds style and function
Incorporate Chalk Storage - Design a dedicated space for your chalk and erasers:
- Install a small ledge beneath the chalkboard area
- Use decorative containers on your desk to hold chalk in various colors
- Consider a magnetic strip that can hold both chalk and metal accessories
Add Personal Touches - Make the space truly yours with:
- Wall art or mirrors on adjacent walls to complement your chalkboard feature
- A few carefully selected desk accessories in colors that pop against the black background
- Plants to add life and color—consider varieties with interesting textures that stand out against the chalkboard
Create Functional Zones - If your chalkboard wall is large, consider dividing it into dedicated sections:
- A calendar area for scheduling
- A goals or quote section for motivation
- A brainstorming space for creative thinking
- A message area for family communications (if in a shared space)
Maintaining Your Chalkboard Wall
Keep your chalkboard wall looking and performing its best with these maintenance tips:
Regular Cleaning - For day-to-day cleaning, simply use a dry chalkboard eraser or soft cloth to remove chalk. For a deeper clean every few weeks, slightly dampen a clean cloth and wipe the surface, then allow it to dry completely before using again.
Avoid Harsh Cleaners - Never use commercial cleaners or abrasive materials on your chalkboard wall, as these can damage the surface. Plain water is usually sufficient for cleaning.
Re-condition Periodically - If you notice the surface becoming harder to erase cleanly, it may be time to re-condition. Simply repeat the conditioning process described earlier to refresh the surface.
Touch Up as Needed - Over time, you may notice some wear, especially in frequently used areas. Keep some of your chalkboard paint for touch-ups. Clean and dry the area thoroughly, then apply a thin coat of paint to the worn spots.
Consider Chalk Type - Traditional chalk creates less ghosting than chalk markers, though chalk markers offer vibrant colors and precision. If you use chalk markers, test them in an inconspicuous area first to ensure they erase completely from your specific chalkboard surface.
Conclusion
A DIY chalkboard wall paired with a thoughtfully designed desk setup creates a uniquely functional and visually striking workspace that adapts to your changing needs. This project offers the perfect blend of practicality and personal expression, allowing you to customize your environment while adding a designer touch to your home.
The beauty of this project lies in its versatility. Whether you're creating a productive home office, a family command center, or a creative studio, the combination of a chalkboard feature wall and coordinating furniture establishes a cohesive space that works as hard as you do.
Remember that the key to success is in the preparation and patience during the painting and curing process. Take your time with each step, and you'll be rewarded with a durable, beautiful surface that will serve you well for years to come.
At Loft Home Furniture, we believe that well-designed spaces enhance your daily life. We hope this guide inspires you to transform your workspace into something both beautiful and functional. When you're ready to complete your office with the perfect desk, chair, or storage solutions, explore our curated collections of high-quality, affordable furniture designed to complement your newly created feature wall.
Ready to complete your home office transformation?
Explore our collection of study room furniture to find the perfect pieces to complement your new chalkboard wall.


Leave a comment